PHOTOGRAPHY: EDITING PROCESS AND CONTENT
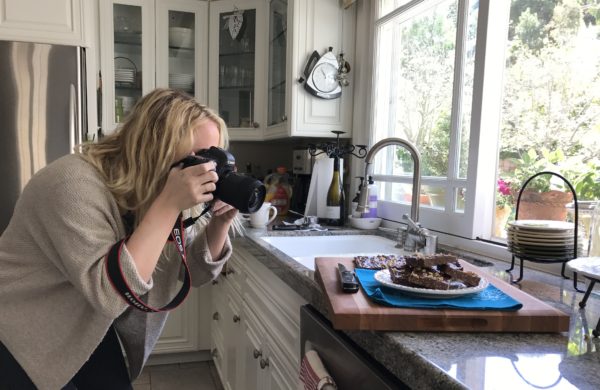
We discussed taking good iPhone photos here on the blog recently. Here’s the link if you want to catch up. Lighting, content, and editing all contribute to the finished photo quality. We explored lighting in depth in this original blog. Today we’ll take a look at editing and content: both important components to the photography process. Editing has the power to completely transform an image. Meanwhile, the content you post to Instagram, Facebook, etc. is just as important. A photo can be amazing, yet the content must also be worth someone’s time.
EDITING
Below, I will walk through the steps to editing an image once it is imported, using my favorite free iPhone editing app, VSCO Cam. You can find the app here (https://vsco.co/store/app).
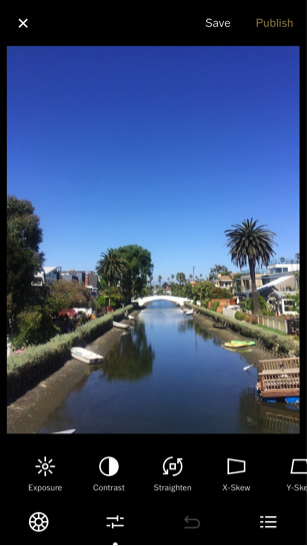
Step 1: Increase the brightness and contrast and add sharpness
iPhone images have the tendency to lack sufficient contrast and exposure. By increasing the brightness, contrast, and sharpness, the colors pop more and the image appears higher quality. Click on the icon of the two stacked slider icons, and choose contrast, exposure, sharpness, etc. to edit your image.

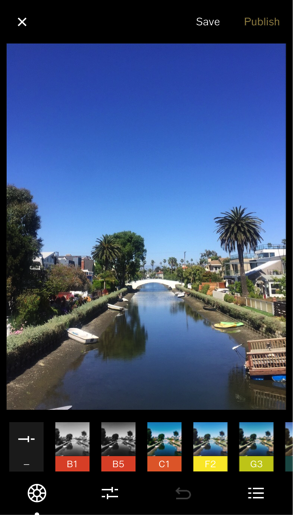
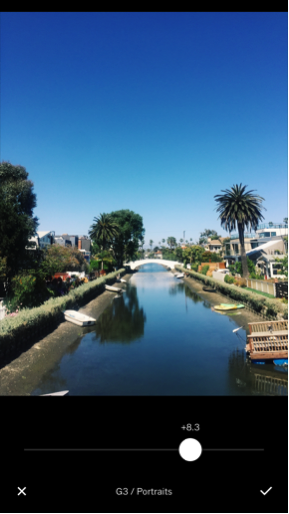
Step 2: Add a filter of your choice
Adding a filter will slightly alter the tones in the photo, giving it a little twist from the typical colors you may expect. This is an optional step, but I almost always add a subtle filter to create a consistency of tones in my Instagram feed. Filters can be found by clicking the circle icon on the bottom left of the app.
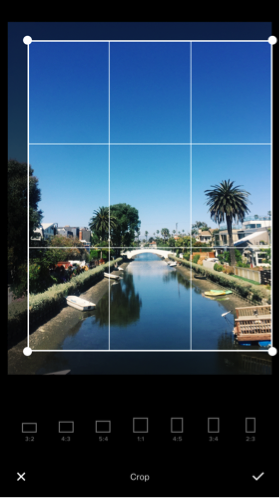
Step 3: Crop the image as needed
I often use the grid tool (using the “Rule of Thirds”) to crop my images. By placing the focal point of your image where two of the lines meet, you can create a more appealing shot. With cropping, you have much more control over the shot and its balance. You can find this tool where we found the tools used during Step 1 (Click on the icon of the two stacked slider icons, and choose crop).
See a few before and after shots below.


CONTENT
The content you post can vary depending on the primary goal of your social media account. If it is a business or brand, it is important to keep it consistent in editing style and overall tone, but it is also vital to keep things interesting.
1. Style and tone
Style and tone primarily have to do with how you edit the images. Does your brand identify more with bright and saturated imagery, or would it do better with a more subtle theme? These are important questions to ask when deciding what content to post and how to edit.
2. Keep it fun!
Be sure to vary your content. Post photos of scenery, a fun quote you find, images of people, and more. Mix it up so your audience never gets bored! Just do your best to keep it on brand.
Overall, editing and content are two important aspects that have the ability to broaden your social media audience and increase your engagement significantly. Be sure to keep all of these tips in mind as you are growing your brand!
Signing off for now,
Molly Peach